Thursday, June 5, 2014

Pin Up to Wartime Fashion

I find it interesting how I can become obsessed with something so quickly.  The first weekend in June Husband and I went to spend time at Disneyland, our happy place.  On Sunday we began to see many ladies wearing Victory rolls in their hair and pin-up style outfits.  I texted my daughter to find out what unofficial day it was at the park.  She found out it was Pin-Up Parade sponsored by Pin Up Girl Clothing.
Of course from there my mind set upon making a 1940s inspired costume.  So I began research to find out what would be actual World War II era dresses for American women.  I found out some things I never knew.
I went to Wikipedia for a brief overview. (Never use Wikipedia as a quotable source. That's what we tell high school students.  However, it is a good place to find some basic information that you can then research on other reputable sites.) I found out that the United States had a department called the U.S. War Production Board (WPA) which issued Limitation Order L-85 in 1942. It listed specific ways Manufacturers had to limit fabric usage.  All silk and nylon went to war production, as did brown and green dyes and much of the wool.  Skirts were narrower and shorter, embellishment almost non-existent. For much more information I read the articles here. Blitzkrieg Baby has a ton of information.  Look at the articles for May 2009 through October 2009.
 
 
These are examples of the pared down fashion of the day.  Shorter sleeves, less fabric in the skirts, single breasted button front with fewer buttons.
 
 
Fabrics were often cotton for summer or light wool for winter.  Printed rayon was also available.
 
 
Here Ava Gardner wears a proper wartime dress. Notice that emphasis is on legs and on shoulders.  Shoulder pads were in most dresses and suit coats.
 
 
Brenda Marshall sports a proper dress and a fabulous hat.  Women were encouraged to reuse the same suit or dress by switching out the accessories. Ms. Marshall was Mrs. William Holden and starred in several movies.
 
 
I found this pattern on ebay and noticed her name.


Hedy Lamar


I just won the bid for this pattern on ebay.  I hope to find some suitable fabric and make it up for the Historical Sew Fortnightly challenge #11, The Politics of Fashion. Good luck to me.  I have a lot of other projects in the works as well.
Thanks for dropping by.
Jeannine


Friday, May 30, 2014

Finished Victorian Corset

I wanted to give you a quick look at my completed corset.
 
 
I am happy with the way it came out but think I need to add bust padding in order to get the shape better.  I also laced it myself rather than having help.  I will post next week with a fully laced and padded version.  I think I need to have my "ladies maid" press my chemise!
 
Blessings,
Jeannine

Monday, April 28, 2014

Victorian Corset

I have been taking an online corset making class and this is what I've gotten so far.  Just have grommets and binding left to go.


The class can be found here.
 
The Pattern is from Truly Victorian.
 
I hope to finish the class this week and then will post soon.  I am excited to have a corset that truly fits me rather than the ones I bought from an online corset company.  They assume that all girls have large busts. Not so.
 
Thanks for checking in on me.
 
Jeannine

Wednesday, February 26, 2014

Chemise Under It All

I made the chemise for "under it all" for Historic Sew Fortnightly.


I wanted to make my chemise from pieces similar to what would have been used in the early 1700s. After some google searching I found the commonly referred to pattern here.
 
I had a hard time understanding the instructions so on my first attempt I had the arm gussets wrong. After some futzing around I figured out how to do the gussets properly. My first attempt was also big enough to use as a chair slipcover!  I decided to Start over and leave out the extra pieces on the bottom.  And again, I used the sewing machine and did not flat fell the seams.
 
Here are the pieces cut out. One body with the fold at the top to later cut the neck hole into. Two sleeves and two underarm gussets.
 
 
I placed the gusset square on the sleeve and sewed down to half an inch before the end.


I then pivoted on the bottom point and brought the adjacent side up to match the sleeve.  The pivot point is by the middle pin.

 
Then I sewed the rest of the sleeve down the underarm from the pivot point to the elbow edge.

 
This is how it should look. I measured the sleeve opening plus gusset and marked the side seam on the body.

 
I pressed the elbow edge under one quarter inch then another quarter inch, then sewed it down.

 
I sewed up the side seams to where the sleeve opening mark was placed.  Then I fit the sleeve into the opening.  I made sure it all lay flat and I would not be making any pleats when I sewed the underarm pivot point.

 
I used a three inch wide piece of fabric, folded it in half and applied it as binding around the neck.  I hand stitched an eyelet in the center front to thread the ribbon through to draw the neckline up.

Here it is all laid out.  As you can see from the pictures of me wearing it, it is still too large around

 
I don't know if you can see the pencil lines but I am going to  cut the sleeves off at the seams, cut the body on the pencil lines and then redo the set in sleeves. Maybe then it will be narrow enough and the sleeves won't be so far from my actual shoulders.

 
That's my chemise story.  So I will be altering it as well as making a completely new set of stays that are two sizes smaller.
 
Thanks for stopping by.
Jeannine
 

Tuesday, February 11, 2014

Pink 18th Century Stays-A Learning Curve

 
This is the story of my first attempt to sew some proper 18th Century Stays.
It was frustrating. I read through all of the instructions and thought I understood the process. I found different bloggers' tutorials and saw the work they had done.  I thought I was ready.
 
 
I traced out the size that should work for me and made a muslin mock up. When I fit it on me it was way too small.  When all the channel sewing and boning was done it would have never worked for me.
 
 
Back to the drawing board. I traced out the next size up thinking that would be perfect and proceeded to cut out and sew up the different layers.

 
Here is the stack of my supplies. Pink outer layer, two layers of canvas, an inside lining, and then the hot pink  for the inner lining. And since it was my first attempt, I went with the 14 inch zip ties as my boning.  I bought a package of 100 for $14.00 approximately. I rustled up a paint stir stick from the Home Depot as well for my busk.


All five layers cut and the pieces properly sewn in order.

 
I layered the outer fabric and the two canvas linings together and sewed channels in the area where the busk will go.  These are just decorative to keep the look continuous. Then I added the inner lining and began the arduous task of marking and sewing the channels for the boning. The channels were able to be a perfect 1/4 inch.


Here is the completely channeled and boned stays.

 
Back side.

 
Close up.  this fabric is actually a reprint of a late 1800s shirting fabric from my quilting fabric stash.  The other fabrics are all modern.

 
After reading and rereading the instructions for finishing the stays I still could not figure out how to proceed.  I did not purchase kid leather for the tabs and the pieces just would fit.  So I discarded using the hot pink lining and instead used the fabric and made bias French binding.

 
I machine stitched the binding to the front side and then hand stitched it over the edges.
 
Here is the finished project.  I also decided against making the straps as they would be added after the binding.
 
According to the instructions, this set of stays should have a gap of about three to four inches in the back once it is laced up properly.

 
As you can see, I have no boobs. So even when I get my chemise done, this set of stays will not give me the proper cleavage.
 
And it had to be laced up so far to fit me that it overlaps in back.  It still is too loose up top.


I think if I make another set, I will size it down at least two sizes so that I will have the proper fit at the top and can cinch in the waist for the correct conical shape.  I will trace the pattern so that I maintain the length of this set of stays as I am long waisted..
 
This was definitely a learning process.
 
I submit this as my Pink project for the Historical Sew Fortnightly challenge number three. It is not historically accurate except in form and function.  I have arthritis which has started to gnarl my fingers a bit and I no longer do much in the way of hand sewing. I chose to use the zip ties because I am cheap frugal. My lacing holes are metal eyelets which my husband applied because I haven't the hand strength to use the tool.
 
Thank you for stopping by.
Blessings,
Jeannine

Saturday, January 11, 2014

2014 Costume Goal-A 1720s Mantua Costume

I have decided to set a project for myself for the year. I want to make a complete costume circa 1720.  There are a lot of pieces and work involved, not to mention costs.
This is the dress I would like to loosely replicate.  It is in the collection of Victoria and Albert Museum. http://collections.vam.ac.uk/item/O13810/mantua-unknown/
 
It is silver brocaded silk. The V& A says this about the piece: "By the early 18th century, the mantua was worn by women as formal day wear. The pale blue silk of this example is brocaded in silver in a large-scale pattern of fantastic fruits and leaves, a typical design for the 1720s. The train of the gown is folded up and the sides held back with a loop and button. This complicated draping required a reversal of the silk when sewn together, so that only the right side of the fabric would show when properly arranged."


I haven't decided what color I will make my imitation.  I think I will just decide when I see the right fabric.  It looks like I will need a brocaded fabric and a moirĂ© in the same color.
 
 
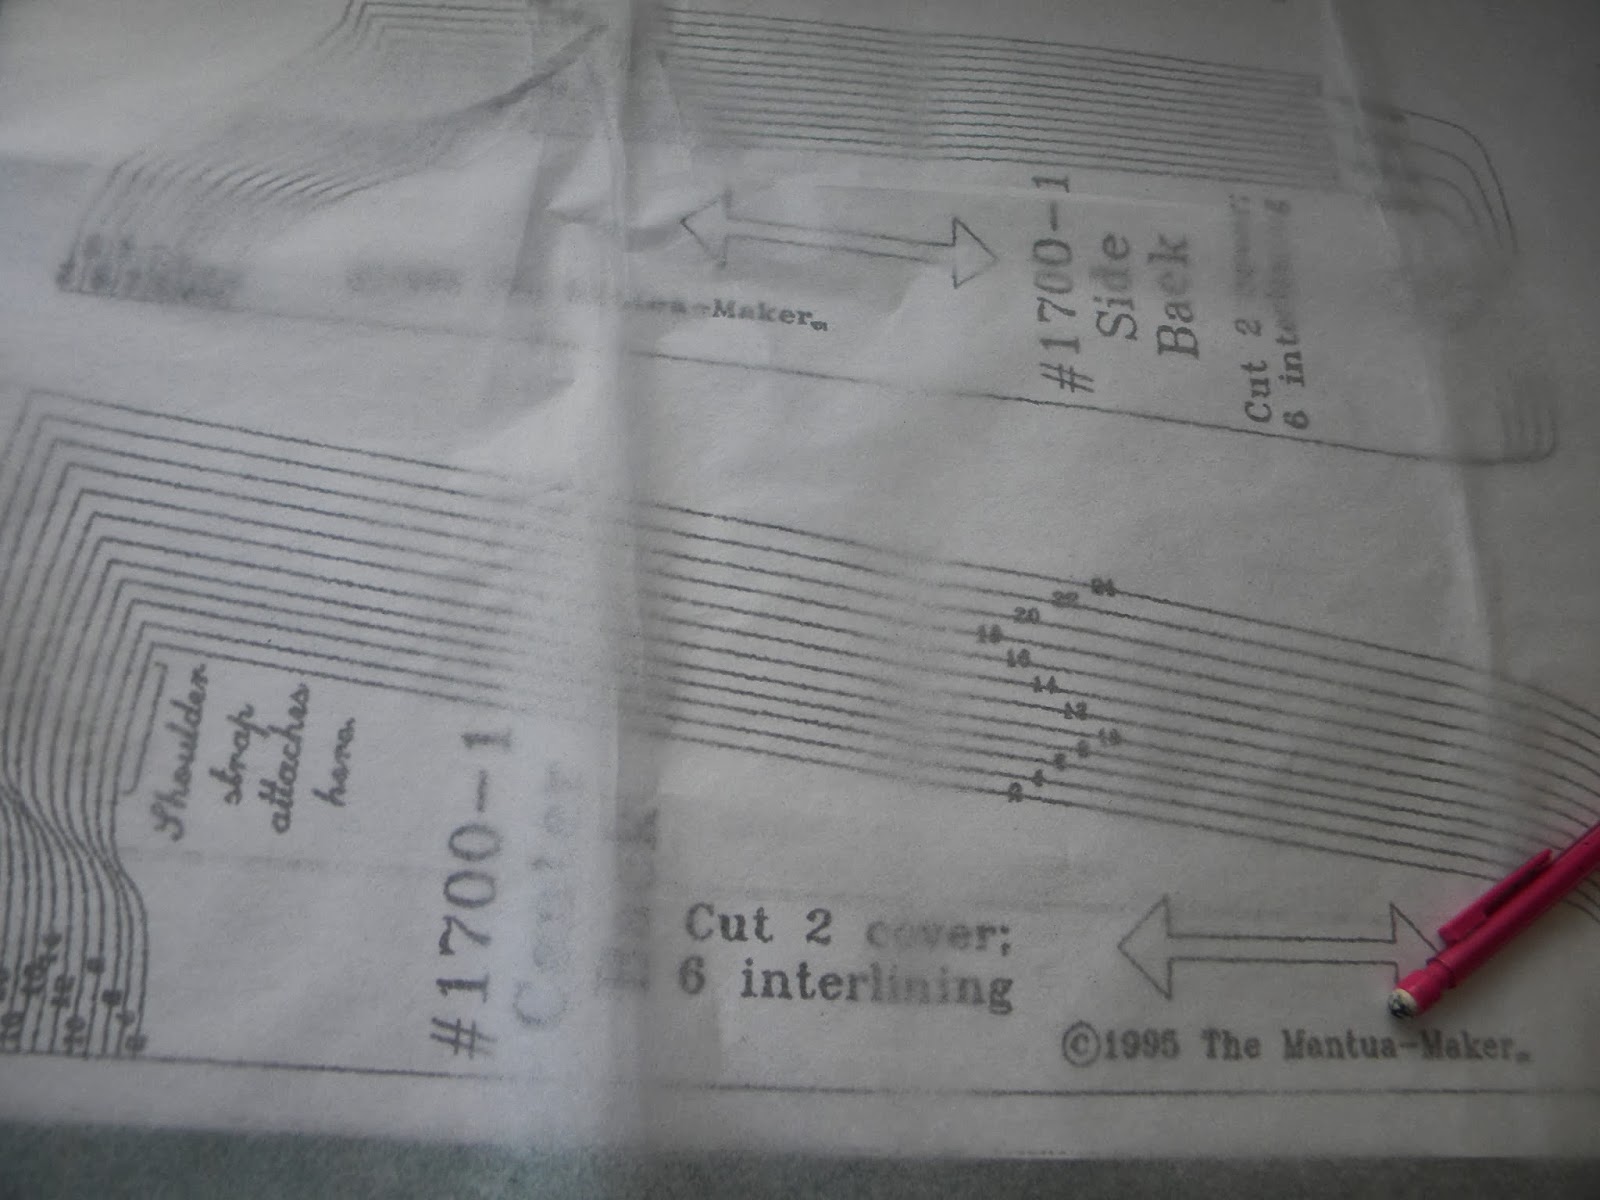
I ordered a "stays" pattern from Mantua Maker. It should arrive on Monday.  I can't wait but I'm sure it will be tons of instructions. No problem!
 
 
Here is an example of a 1700s set of stays. This yellow example is French and is in the collection of the Metropolitan Museum of Art. http://www.metmuseum.org/Collections/search-the-collections/90404

 
This is quite a fancy set. It has silver braid all over the front.  I think I will make mine more plain so that it could be worn with various costumes I may make.
I will make a Stomacher to match the dress.


Mine won't be as fancy and embroidered as this one.  It is an British example.  It is also in the Met. http://www.metmuseum.org/Collections/search-the-collections/156994
 
There are a few other pieces I will need as well, including a chemise and bloomers for under it all.
 
First, however, I am finishing the Cinderella costume that I started back in October. The sleeves are complicated, sewn in four or five segments.
 
Jeannine

Sunday, December 8, 2013

Christmas Not costume Sewing

I haven't been back to costume sewing yet but I tested out the new sewing machine by sewing pillow covers for Christmas.  Red velvet left from a Red Riding Hood cloak. Purchased plaid for the larger pillows.


New stockings out of satin sari type fabric.  Each has unique trim.  They go with our Mardi Gras- New Orleans theme.


I hope to be back to the costume sewing soon.
Blessings,
Jeannine