
This is the story of my first attempt to sew some proper 18th Century Stays.
It was frustrating. I read through all of the instructions and thought I understood the process. I found different bloggers' tutorials and saw the work they had done. I thought I was ready.

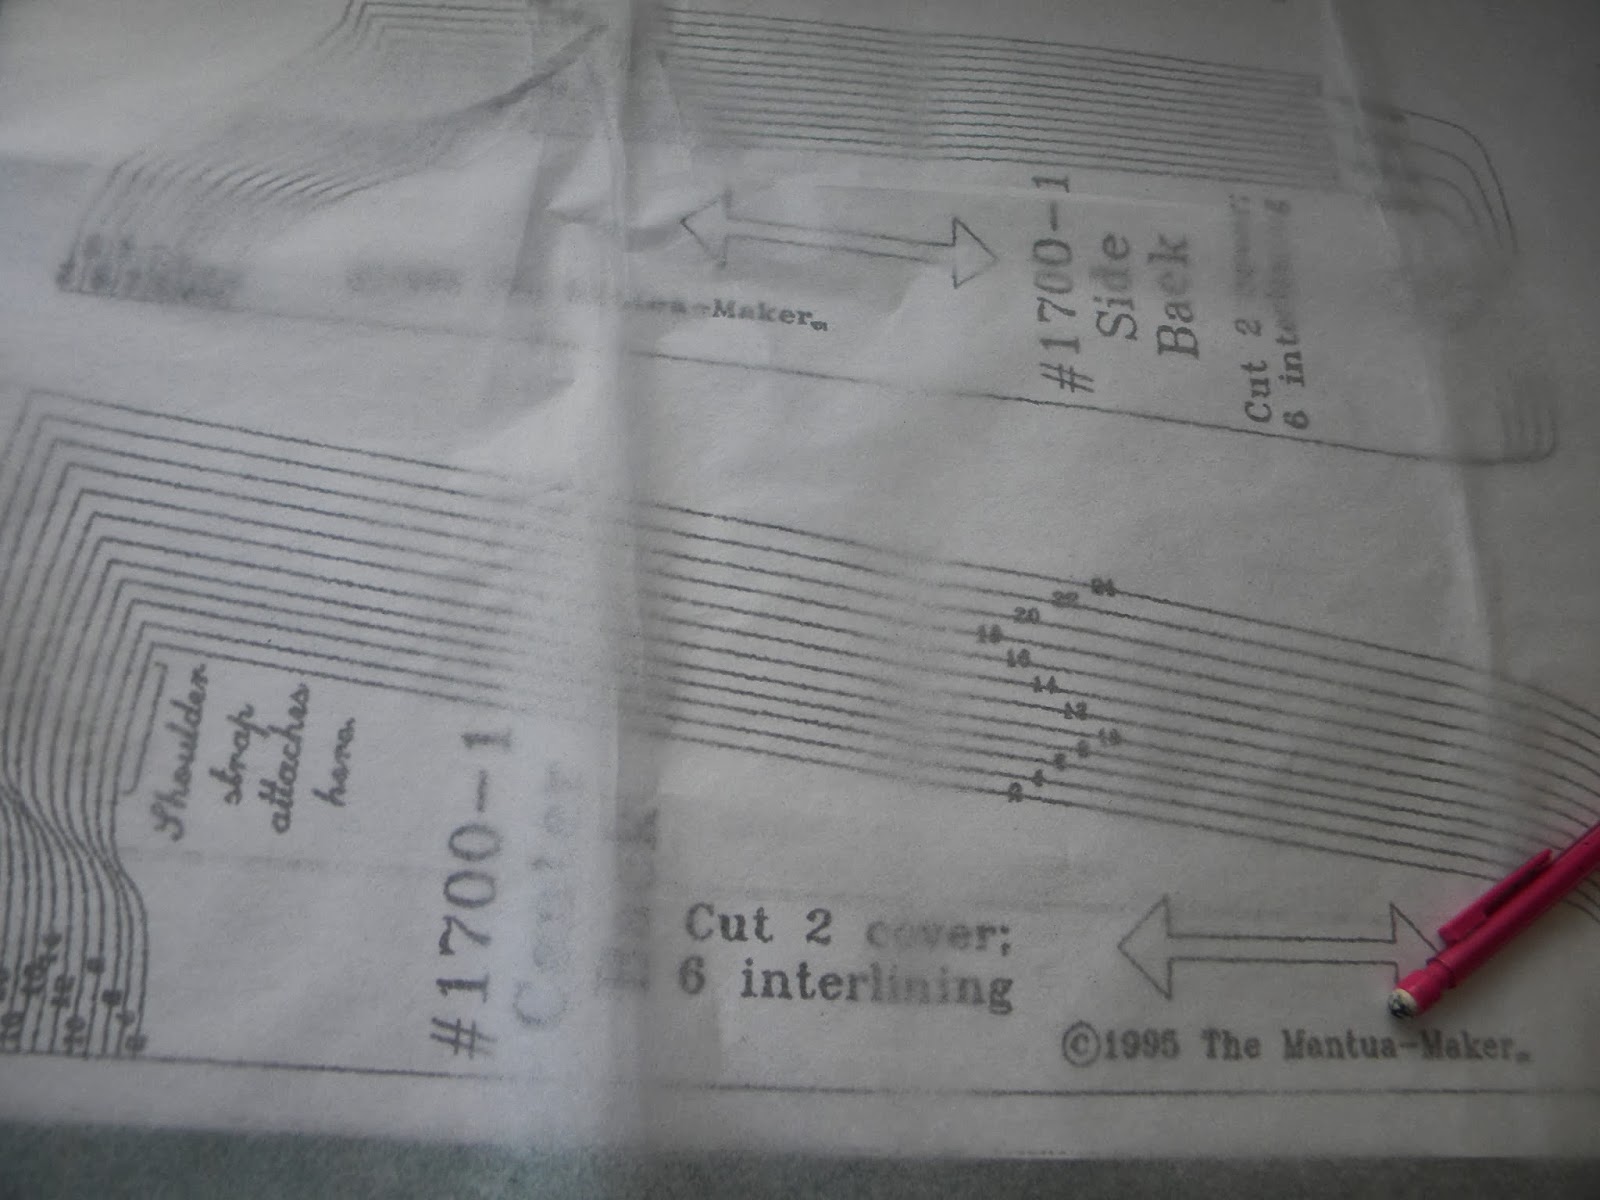
I traced out the size that should work for me and made a muslin mock up. When I fit it on me it was way too small. When all the channel sewing and boning was done it would have never worked for me.

Back to the drawing board. I traced out the next size up thinking that would be perfect and proceeded to cut out and sew up the different layers.
Here is the stack of my supplies. Pink outer layer, two layers of canvas, an inside lining, and then the hot pink for the inner lining. And since it was my first attempt, I went with the 14 inch zip ties as my boning. I bought a package of 100 for $14.00 approximately. I rustled up a paint stir stick from the Home Depot as well for my busk.

All five layers cut and the pieces properly sewn in order.

I layered the outer fabric and the two canvas linings together and sewed channels in the area where the busk will go. These are just decorative to keep the look continuous. Then I added the inner lining and began the arduous task of marking and sewing the channels for the boning. The channels were able to be a perfect 1/4 inch.


Here is the completely channeled and boned stays.

Back side.

Close up. this fabric is actually a reprint of a late 1800s shirting fabric from my quilting fabric stash. The other fabrics are all modern.

After reading and rereading the instructions for finishing the stays I still could not figure out how to proceed. I did not purchase kid leather for the tabs and the pieces just would fit. So I discarded using the hot pink lining and instead used the fabric and made bias French binding.

I machine stitched the binding to the front side and then hand stitched it over the edges.
Here is the finished project. I also decided against making the straps as they would be added after the binding.
According to the instructions, this set of stays should have a gap of about three to four inches in the back once it is laced up properly.

As you can see, I have no boobs. So even when I get my chemise done, this set of stays will not give me the proper cleavage.
And it had to be laced up so far to fit me that it overlaps in back. It still is too loose up top.


I think if I make another set, I will size it down at least two sizes so that I will have the proper fit at the top and can cinch in the waist for the correct conical shape. I will trace the pattern so that I maintain the length of this set of stays as I am long waisted..
This was definitely a learning process.
I submit this as my Pink project for the Historical Sew Fortnightly challenge number three. It is not historically accurate except in form and function. I have arthritis which has started to gnarl my fingers a bit and I no longer do much in the way of hand sewing. I chose to use the zip ties because I am cheap frugal. My lacing holes are metal eyelets which my husband applied because I haven't the hand strength to use the tool.
Thank you for stopping by.
Blessings,
Jeannine
No comments:
Post a Comment